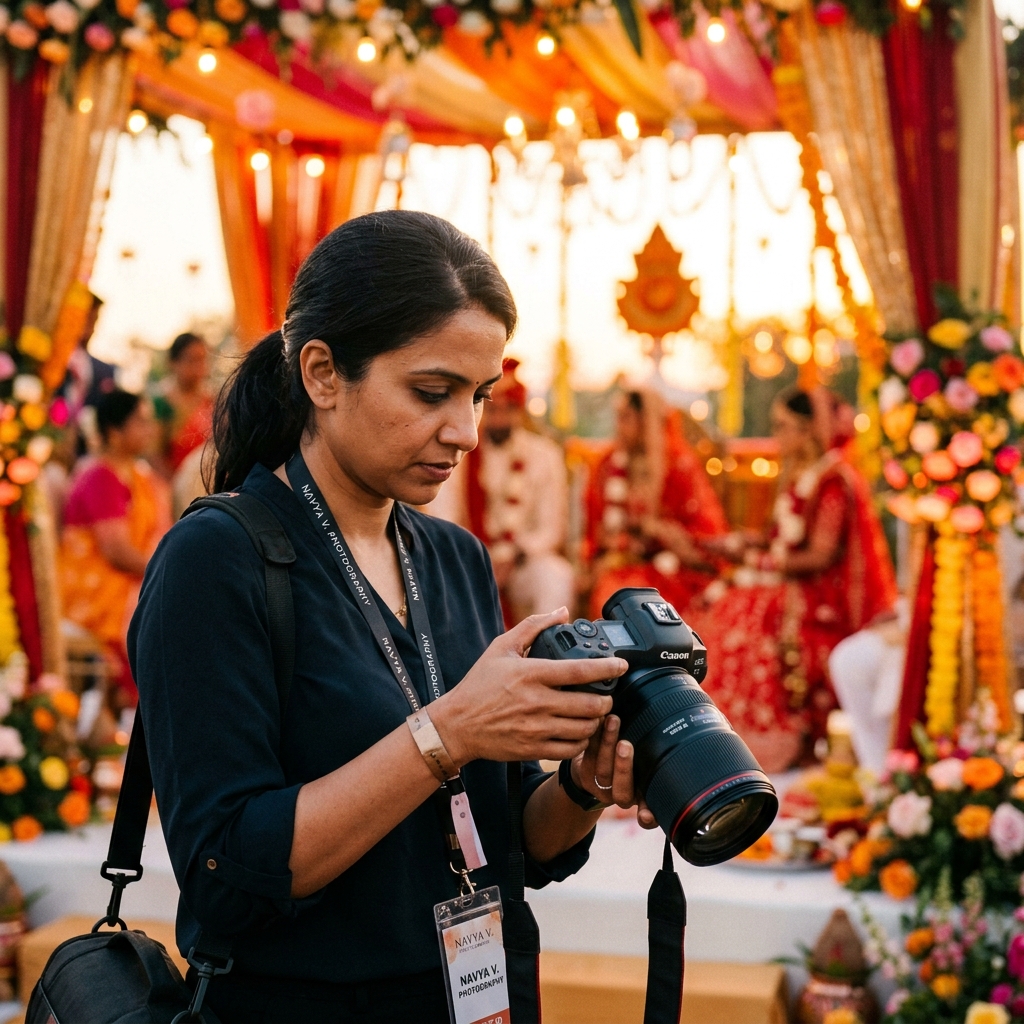
Shooting an Indian wedding is unlike any other photography genre. You are constantly battling harsh sunlight during the daytime Haldi, wrestling with multi-colored LED strobes at the Sangeet, and trying to expose for skin tones inside a dark, artificially lit Mandap at 2:00 AM.
If you are relying on "Auto" mode, you are gambling with your client's memories. In this guide, we break down the exact Aperture, Shutter Speed, and ISO settings professional Indian wedding photographers use to nail focus and exposure every single time. 📷
1. The Exposure Triangle Strategy
Before we dive into specific events, it's crucial to understand how to prioritize your settings. At a wedding, the environment dictates your camera's priority.
Aperture Priority (A/Av) vs. Manual (M)
- Manual Mode (M): Use Manual mode when the lighting is consistent (e.g., formal couple portraits, well-lit Mandap rituals). It ensures that every shot in a sequence has the exact same exposure, drastically saving you time during batch-editing in Lightroom.
- Aperture Priority: Use this during fast-moving sequences outdoors or under natural light (e.g., Baarat outdoors, Haldi under the open sky). The camera will automatically adjust shutter speed while you maintain your desired depth of field.
"Pro Tip: If you use Aperture Priority, make sure you configure your 'Minimum Shutter Speed' to at least 1/200th in your camera settings to prevent motion blur during sudden movements."
2. Quick Setup Cheat Sheet by Event
Every ritual demands a different technical approach. Here is a baseline cheat sheet you can use as a starting point:
| Event / Scenario | Aperture | Shutter Speed | ISO Strategy |
|---|---|---|---|
| Haldi / Mehendi (Day) | f/2.8 - f/4.0 | 1/500s or faster | ISO 100 - 400 |
| Sangeet (Dance Floor) | f/1.8 - f/2.8 | 1/250s (freeze) or 1/30 (drag) | ISO 1600 - 6400 |
| Bridal Portraits | f/1.4 - f/2.2 | 1/200s | ISO 100 - 800 |
| Mandap (Night/Tungsten) | f/2.8 - f/4.0 | 1/200s | ISO 800 - 3200 + Flash |
3. Shutter Speed Guidelines
Motion blur is the number one reason photos get rejected. Here’s what you need to know:
- For dancing and Baarat: Never drop below 1/200th of a second. If the groom is moving fast on a horse, push it to 1/500th.
- For stationary rituals: You can safely shoot at 1/125th to let more light into the sensor and keep your ISO low.
- Shutter Drag (Sangeet): For artistic dance floor shots, set your shutter speed to 1/15th to 1/30th of a second and use a rear-curtain sync flash. This freezes the subject while capturing dynamic ambient light trails.
4. Nailing Focus in Dark Venues
Indian weddings are notoriously dark. A poor focusing strategy will result in completely missed moments.
- Focus Mode: Keep your camera on AF-C (Continuous) or AI Servo 90% of the time, combined with Eye-AF (if you use Sony/Canon mirrorless). The bride and groom are rarely perfectly still.
- Single Point Autofocus: Don't let the camera choose what to focus on. Use a single point or small zone focus area and place it directly on the bride's eye.
- Back-Button Focus: Separate your focus function from your shutter release button. This allows you to lock focus independently of taking the shot.
Shooting 5,000+ photos per wedding?
Stop wasting weeks culling out blurry images and asking clients to select via Google Drive. Let our Gemini API automatically sort blinking/blurry shots, and deliver client selections instantly.
Try Pixelect Free Mode5. White Balance (WB) Tips
Skin tones are everything. Mixed lighting (tungsten halogen yellow mixed with purple DJ lights) is a nightmare for editing.
Shoot in RAW format always. This allows you to completely fix the White Balance in post-production without degrading image quality. For run-and-gun shooting, setting your WB to Kelvin mode (around 3200K for indoor warmth, 5500K for outdoor daylight) provides much more consistency across photos than using Auto White Balance (AWB).
6. Final Rule: Expose to the Right (ETTR)
When shooting the bride's deep red Lehenga or dark groom suits against bright backgrounds, modern camera sensors handle underexposure better than overexposure. However, to get the cleanest files (least amount of grain), try to "Expose to the Right." This means keeping your histogram shifted as far right as possible *without* clipping the highlights.
Summary
Mastering these settings takes practice. The goal is to develop muscle memory so that when the Varmala happens in a split second, adjusting your Shutter Speed to 1/500th and your Aperture to f/2.8 becomes second nature. Set your camera, trust your gear, and focus on capturing the emotion.